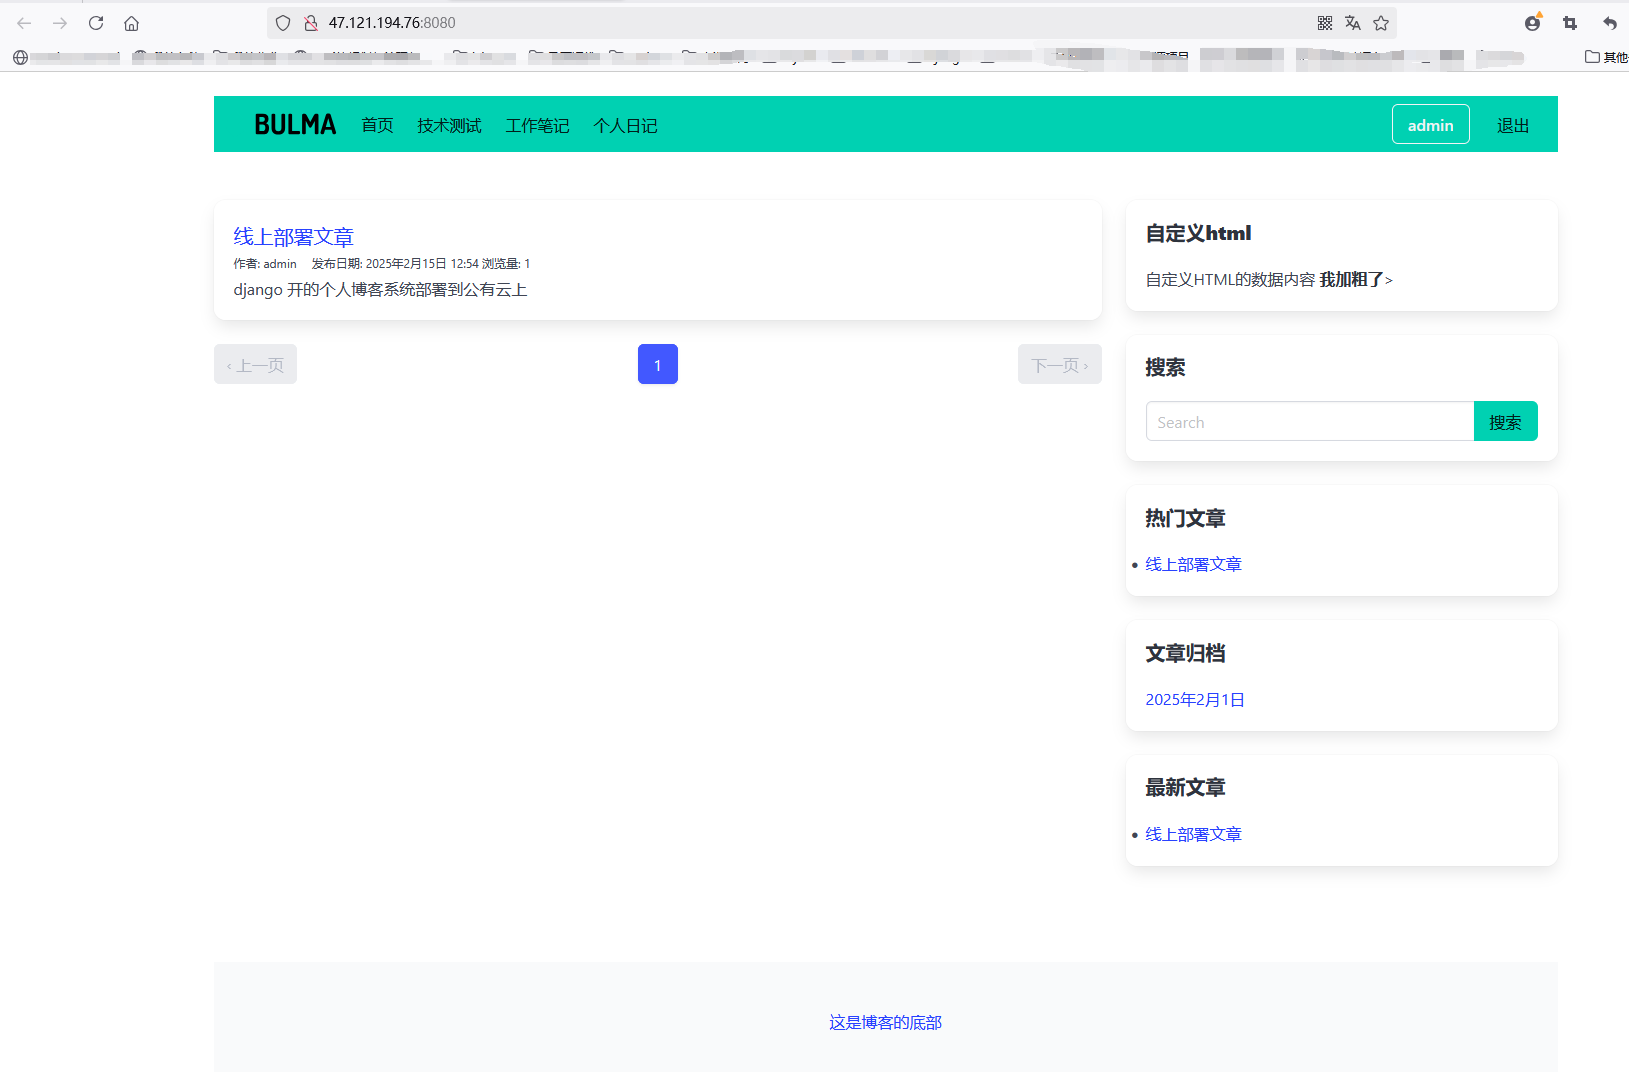
线上环境说明:
alamlinux 9 python3.9 yum安装nginx
1、拉取代码cd /data/git clone git@github.com:sysant/django-blog.git
2、安装环境依赖(python安装忽略python3.8 + )pip install -r requirements.txtyum install nginx -y
3、数据库初始化cd django-blogpython manage.py makemigrations users blogpython manage.py migrate
4、创建超级管理员python manage.py createsuperuser用户名 (leave blank to use 'root'): admin电子邮件地址: <---- 输入你的邮箱格式的地址Password: <----按提示输入密码Password (again): <----按提示输入密码
Superuser created successfully.
5、测试访问cd /data/django-blogpython manage.py runserver 0.0.0.0:8080
6、通过uwsgi启动blog系统(手动测试) 后面结合supervisord服务管理cd /data/django-blog/deployuwsgi --ini uwsgi.ini
此时netstat -ntpul 会看到本地侦听了8001端口;端口在uwsgi.ini中配置
7、配置并启动nginx
cat /data/django-blog/deploy/blog.confupstream django { server 127.0.0.1:8001; server 127.0.0.1:8001;}
server {listen 8080; # 原本应该是80server_name _; #i just want to hide domain name..charset utf-8;client_max_body_size 20M;
# location 配置请求静态文件多媒体文件。 location /media { alias /data/django-blog/media/; }# 静态文件访问的urllocation /static { # 指定静态文件存放的目录 alias /data/django-blog/static/; }
location / { include /data/django-blog/deploy/params; uwsgi_pass django;}}
通过软链接过去ln -s /data/django-blog/deploy/blog.conf /etc/nginx/conf.d/重启nginxsystemctl restart nginx
8、执行静态文件迁移
mkdir staticpython manage.py collectstatic
427 static files copied to '/data/django-blog/static'.
此时可以测试访问:
http://xxxxxxx:8080/admin
后台创建文章
并通过http://xxxxxxx:8080访问
但管理不方便uwsgi管理不方便,这里用supervisord后台守护程序管理:
9、配置supervisord.service;cat /usr/lib/systemd/system/supervisord.service[Unit]Description=Process Monitoring and Control DaemonAfter=rc-local.service
[Service]Type=forkingExecStart=/root/py39/bin/supervisord -c /etc/supervisord.confRuntimeDirectory=supervisorRuntimeDirectoryMode=0755
[Install]WantedBy=multi-user.target
cd /data/django-blog/deploy
# 生成并修改/etc/supervisord.conf配置echo_supervisord_conf > /etc/supervisord.conf
修改/etc/supervisord.conf最后一行为[include]files = /etc/supervisord.d/*.inimkdir -pv /etc/supervisord.d/ln -s /data/django-blog/deploy/blog.ini /etc/supervisord.d/ls -alh /etc/supervisord.d/blog.inilrwxrwxrwx 1 root root 33 Feb 15 14:39 /etc/supervisord.d/blog.ini -> /data/django-blog/deploy/blog.ini
# uwsgi.ini配置cat /data/django-blog/deploy/uwsgi.ini
#配置域应该是uwsgi,记住这个不能丢,否则会报错
[uwsgi]#uwsgi监听的socket,可以为socket文件或ip地址+端口号,用nginx的时候就配socket socket = 127.0.0.1:8001
#指定项目的目录,在app加载前切换到当前目录chdir = /data/django-blog
# Django的wsgi文件,用来加载blog2/wsgi.py这个模块module = mysite.wsgi# Python虚拟环境的路径home = /root/py39# master 启动主进程。master = true# 最大数量的工作进程数processes = 2# 指定工作进程中的线程数threads = 2
# 设置socket的权限chmod-socket = 664# 退出的时候是否清理环境,自动移除unix Socket 和 Pid 文件vacuum = true#日志文件路径;daemonize = /data/django-blog/deploy/uwsgi.log# pid文件pidfile = /data/django-blog/deploy/uwsgi.pid
# cat /data/django-blog/deploy/blog.ini[program:blog]
; ; 进程运行目录(项目根目录)directory=/data/django-blog
; 启动命令(指定完整路径并添加关键参数)command=/root/py39/bin/uwsgi --ini deploy/uwsgi.ini
; 运行用户(避免以 root 运行,提升安全性);user=www ; 替换为实际运行用户(如 nginx 用户)
; 自动管理autostart=trueautorestart=truestartsecs=10 ; 等待10秒确认进程正常启动startretries=3 ; 启动失败后的重试次数stopwaitsecs=5 ; 发送停止信号后等待超时时间;; ; 日志配置(关键优化点)stdout_logfile=/data/django-blog/deploy/logs/uwsgi.logstderr_logfile=/data/django-blog/deploy/logs/uwsgi_error.logstdout_logfile_maxbytes=50MB ; 单日志文件最大50MBstdout_logfile_backups=10 ; 保留10个历史日志
stopsignal=INT
启动supervisord服务systemctl daemon-reloadsystemctl start supervisord.service
# 查看blog(uwsgi)服务状态cd /data/django-blog/supervisorctl status allblog RUNNING pid 626662, uptime 0:16:17
10、总结
后期管理blog程序只要先管理supervisiord守护程序
再到项目/data/django-blog目录中通过
supervisorctl status|stop|start|restart blog 管理
